
Ecommerce and Retail • Neto

It goes without saying that 2020 is delivering truly unprecedented and potentially long-lasting impacts to the retail landscape.
The battle against the COVID-19 pandemic through social distancing has seen a sharp drop in foot-traffic, resulting in the closure of many traditional outlets.
Retailers and wholesalers who do not have an online presence, now find themselves facing declining, if not a total cessation of sales. And while this impact has the potential to be severe, the silver lining is that shoppers have not stopped buying, they've just changed how they are doing it.
The behaviour we're seeing now is not new.
In 2003 when the SARS outbreak hit China, JD.com was forced to pivot their bricks-and-mortar electronics business entirely online, today, they are one of the biggest B2C ecommerce providers in China.
Embracing a digital transformation and shifting to selling online, will not only benefit your business in the short term.
Ecommerce is big business. Online sales reached over $1.95 trillion in 2016 and are predicted to approach $5 trillion by 2021. The behaviour change brought about by this pandemic is likely to have long-lasting effects, with new customers embracing online shopping and the convenience it brings.
While starting your online selling journey can seem overwhelming, thankfully, it doesn’t have to be. Below we've shared our step-by-step guide that walks you through how to start selling online.
The first step in setting up an online shop is selecting an ecommerce platform to run your business from. There are a few things you need to consider:
If you consider yourself to be non-technical but still want to run your own store, Neto is a great solution, as we offer services to help get you started, as well as tonnes of training and support. And if you are a designer or developer, you still have full access to the HTML, CSS, and JS of your store, making it easy to customise every aspect of your website and shopping cart. It’s the best of both worlds.
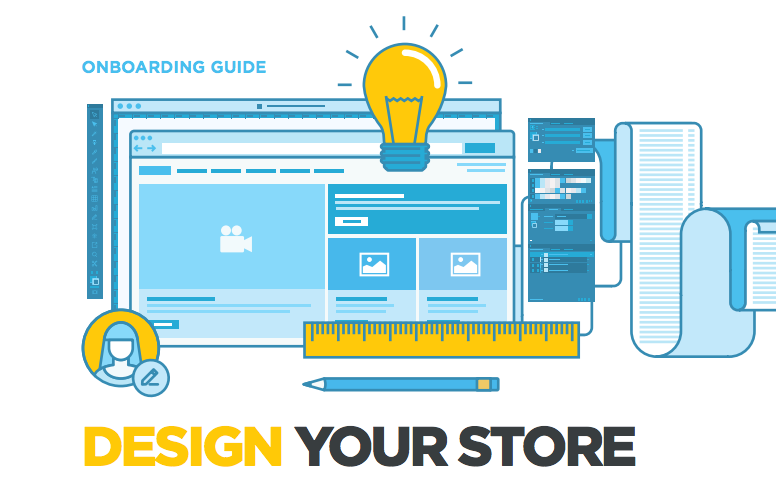
After choosing a platform and setting up the basic structure of your site, you need to focus on the design and branding of your store. The design of your site should help customers find what they’re looking for quickly and easily.
The best ecommerce shops should be simple and easy to navigate so that your customer has a great experience, which increases your chance of conversion. Some design best practices to keep in mind include:

Your home page is your ‘shop front’ so keep it clutter-free and sleek. This will often be your customer’s first impression of your brand so make it a good one.
After your site is designed, you need to start building product pages and adding product information. The goal of each product page is to entice the buyer to make a purchase. You can do that by including the following things on each product page:
To ease any customer concerns or doubts it’s a good idea to link to the following pages:
If you need inspiration for your product pages, check out HubSpot’s list of high-converting product pages.
The next step in the process is to set up your shipping options. Shipping is an extremely important component for online stores.
You need to plan how to handle the various costs and logistics involved in the shipping process including timing, cost and international shipping.
When deciding on a shipping carrier there are a few things to consider:
From here you can research which carrier will provide the best shipping options for your business.
A few popular Australian shipping carriers include Australia Post eParcel, Startrack,Couriers Please, Toll Priority, Fastway Couriers and Sendle.
Neto integrates with all of these carriers, making shipping your products hassle-free.
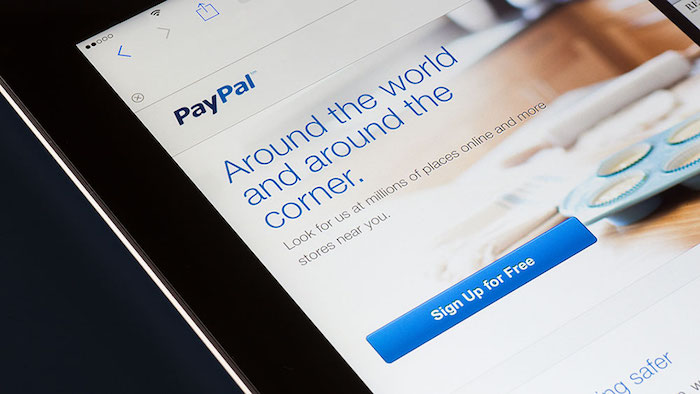
You can’t make sales without getting paid! It’s important to work out what the best payment options are for your business. Payment gateways like Stripe, processes credit card payments for both online and traditional brick-and-mortar stores and securely transfer financial data between your website and the customer’s bank.
Whilst credit cards are for many the default payment option online, research is showing that Millennials and Generation Z are moving away from credit cards, preferring digital options like Afterpay, Zip and Paypal.
The more payment options you offer, the better, as this caters for different types of customers. Neto integrates with many payment options and allows you to meet the needs of your customer.
It's important to know that each gateway option has its own processing requirements and fees, so be sure to research different options to see what best fits your needs.
Marketplaces are a great way to open your business up to more shoppers. More importantly, they allow you to rapidly generate sales and reach customers with zero marketing spend.
With the number of marketplaces growing at a rapid rate, understanding the difference between the top marketplaces and working out which is right for you can be difficult.
We recommend starting with these popular Australian marketplaces and expanding from there:
If you're using an integrated platform like Neto, getting started on these marketplaces is pain-free with the ability to sync your products, descriptions and images straight from the platform. As your products sell, this information is synced back into Neto, keeping your inventory up to date and streamlining your fulfilment process.

Once you have the bulk of your store up and running, you can then integrate with other services to automate tasks and process. Automation can help with things like:
By adding these solutions to your website you can optimise your sales funnel and automate tedious processes. Neto integrates with a wide variety of add-ons to help you get the best results.
Following the above steps will help you get started and take the first step towards making a sale online. The good news is pivoting to selling online doesn't have to be a long process, in fact with help, it's possible for you to start online selling in just one week. Start a free trial and speak to our team to get started.
